Homelabbing Part 2: Talos Linux
🧐 Why Talos Caught My Eye
I’ve been spending a lot of time lately at work looking at minimal container images and OS layers — mostly through WizOS and Chainguard’s work.
It was through coincidence at Edgecase 2025 I was introduced to Talos Linux.
From the way they described it, it sounded like something that would click instantly with how I like to homelab — clean, minimal, no nonsense.
And it turns out, that’s exactly what Talos is built for. No SSH, no shell, no login — just an API you talk to. Honestly, that alone makes it interesting.
⚙️ The Hardware
Here’s the layout I settled on:
| Role | vCPUs | RAM | Disk | Notes |
|---|---|---|---|---|
| Control Plane | 2 | 4 GB | 30 GB | Talos + etcd + apiserver |
| Worker 1 | 2 | 4 GB | 20 GB | Light workloads, scans, dashboards |
That leaves me plenty of RAM headroom in Proxmox for other test VMs or snapshots.

💿 Installing Talos on Proxmox
Step 1 — Install the CLI
1
2
brew install siderolabs/tap/talosctl
talosctl version
This binary is your control plane — it’s how you generate configs, apply them, and talk to the cluster. No SSH, ever.
Step 2 - Get the ISO
1
curl -L -o talos-metal-amd64.iso https://github.com/siderolabs/talos/releases/download/v1.11.2/metal-amd64.iso
Upload it to Promox -> Local -> ISO images
Step 3 — Create the VM
In the Proxmox UI:
- BIOS: OVMF (UEFI)
- Machine: q35
- Disk: 20–30 GB (SCSI)
- CPU: 2 cores
- RAM: 2–4 GB
- Network: VirtIO, bridged to LAN
Attach the Talos ISO once the VM is created.
⸻
Step 4 — Boot and Set a Static IP
This part’s changed from older docs. On boot, hit F3 to open the Network Config prompt and set your static IP right there. Mine looked like this:
hostname=talos-cp01
addresses=192.168.1.4/24
gateway=192.168.1.1
nameservers=1.1.1.1,8.8.8.8
After booting, Talos will bring up its tiny runtime and show the node’s IP. You can now talk to it with talosctl.
⸻
Step 5 — Generate and Apply Configs
Back on your Mac:
1
talosctl gen config talos-proxmox-cluster https://$CONTROL_PLANE_IP:6443 --output-dir _out
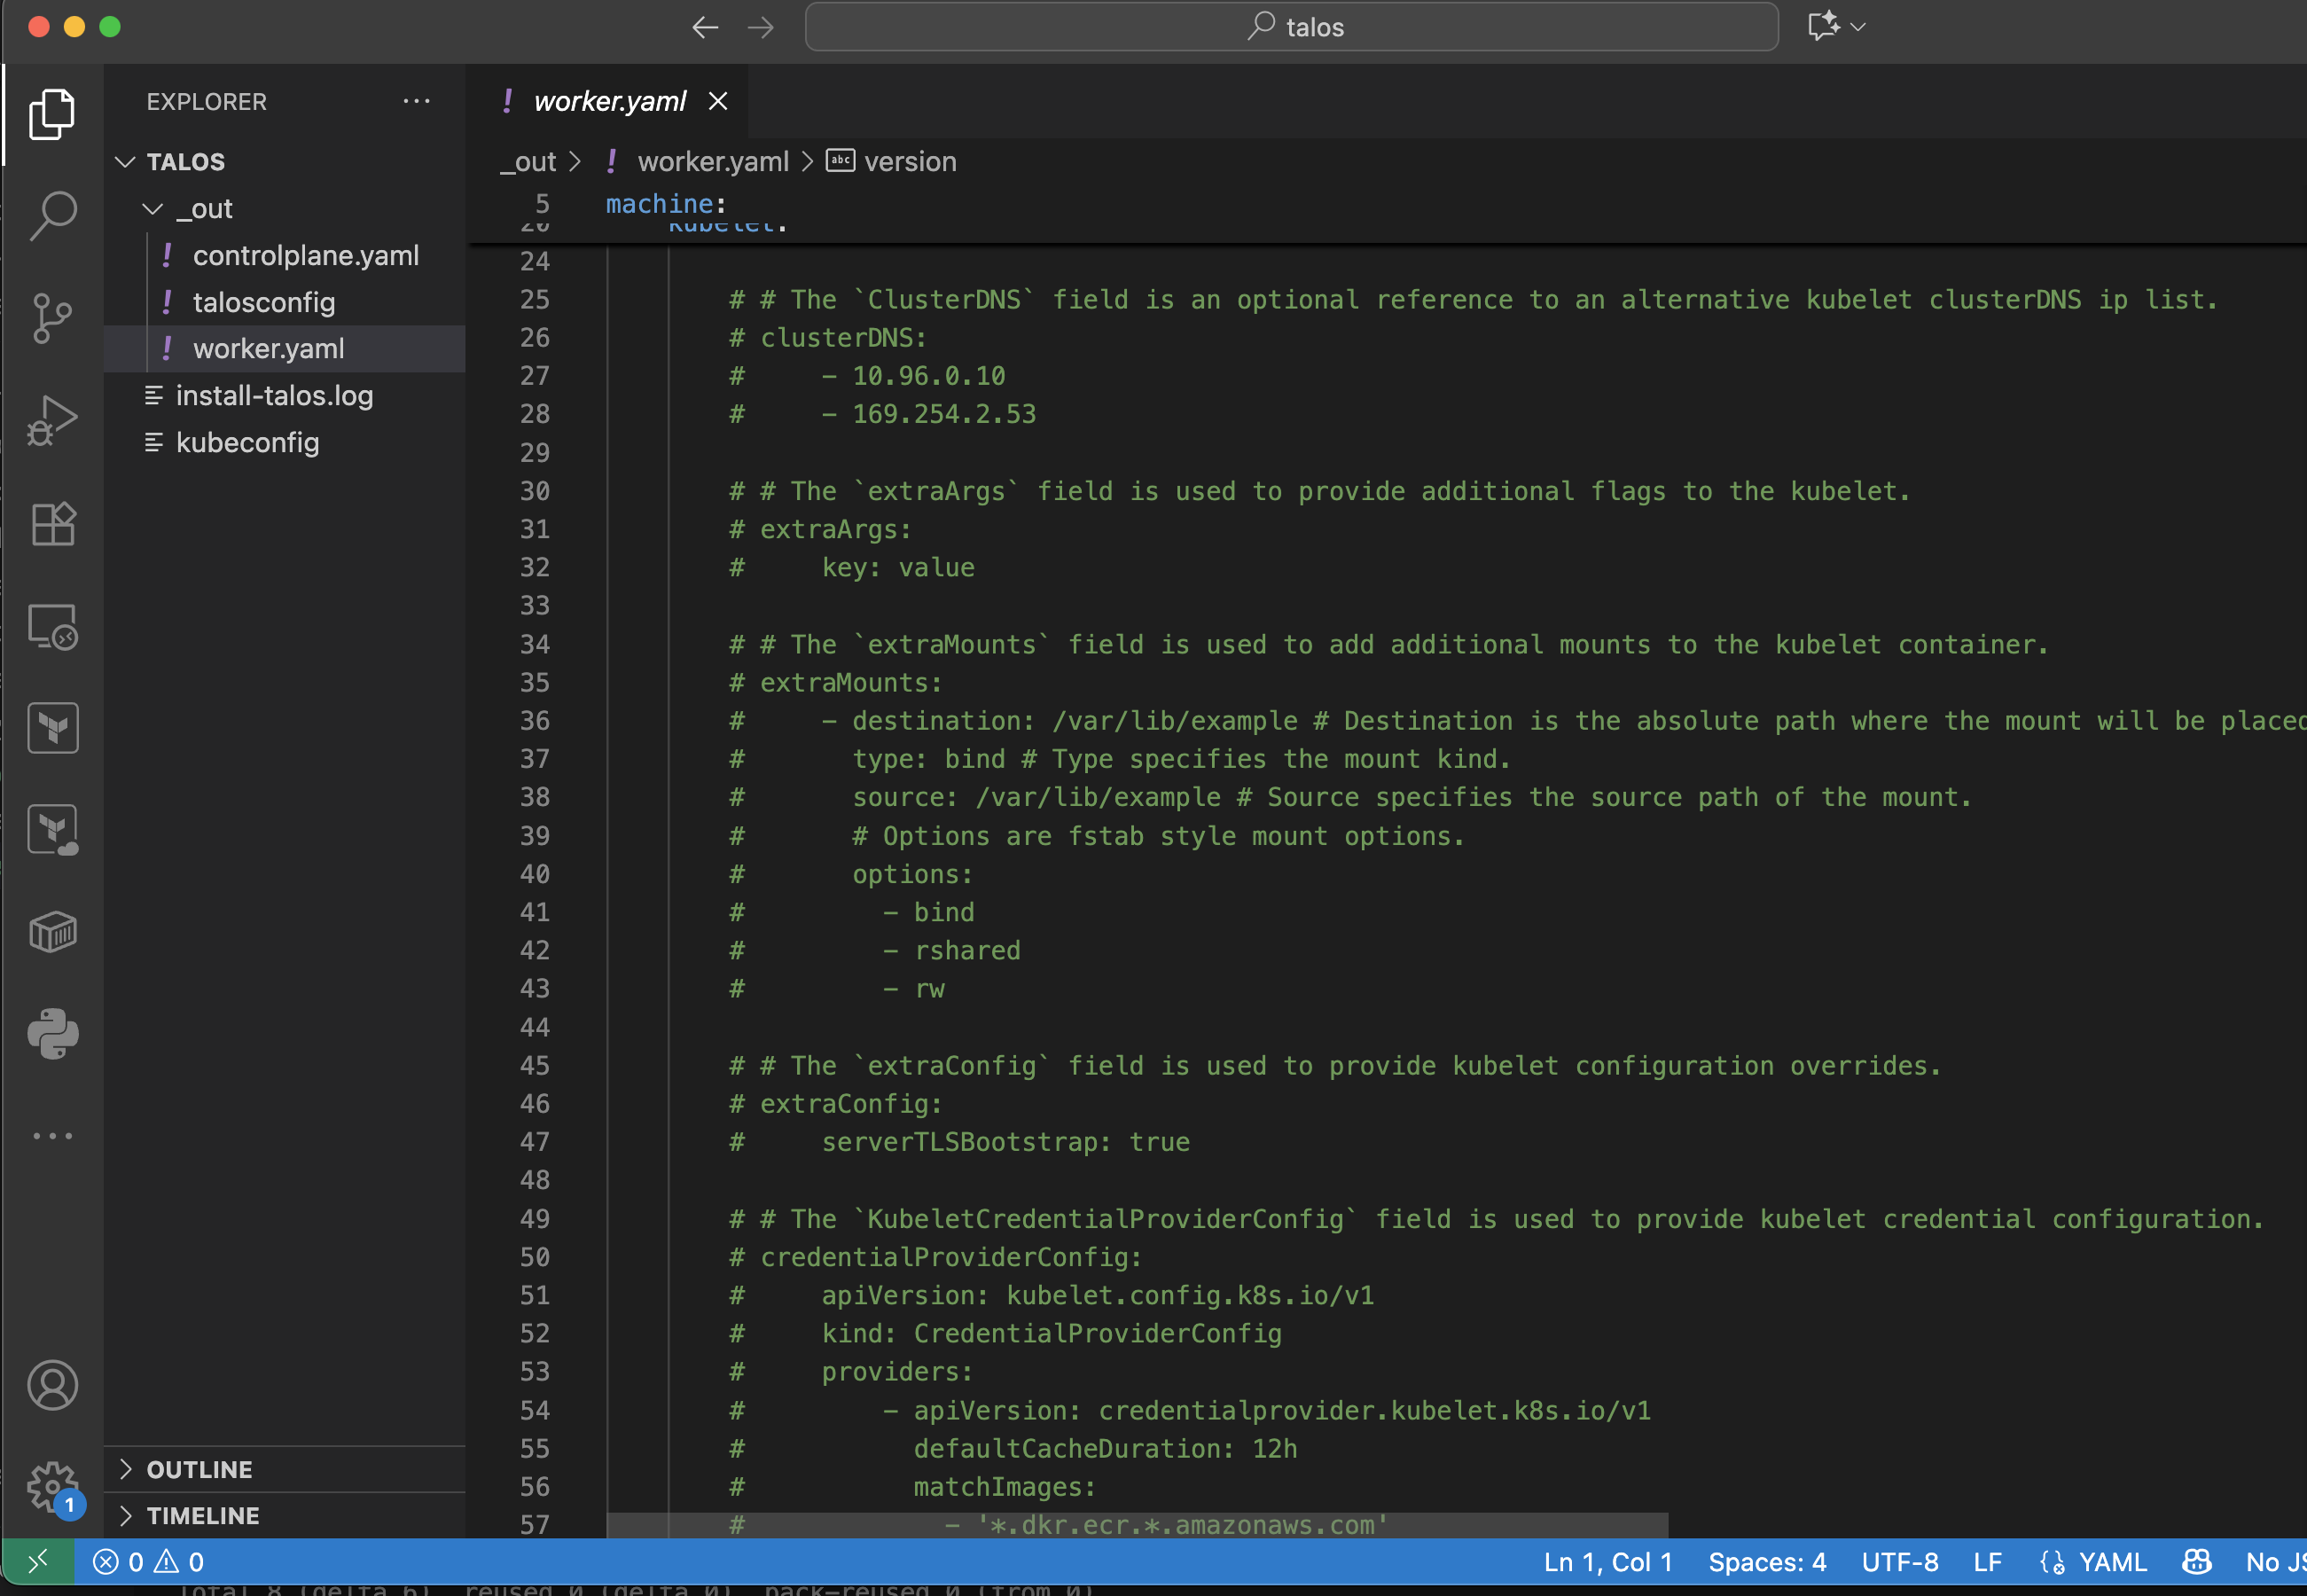
That gave me: • controlplane.yaml – control plane node • worker.yaml – worker node • talosconfig – local CLI config
Apply the controlplane config:
1
talosctl apply-config --insecure --nodes $CONTROL_PLANE_IP --file _out/controlplane.yaml
Apply the worker config:
1
talosctl apply-config --insecure --nodes $WORKER_IP --file _out/worker.yaml
Bootstrap:
1
2
3
talosctl config endpoint $CONTROL_PLANE_IP
talosctl config node $CONTROL_PLANE_IP
talosctl bootstrap
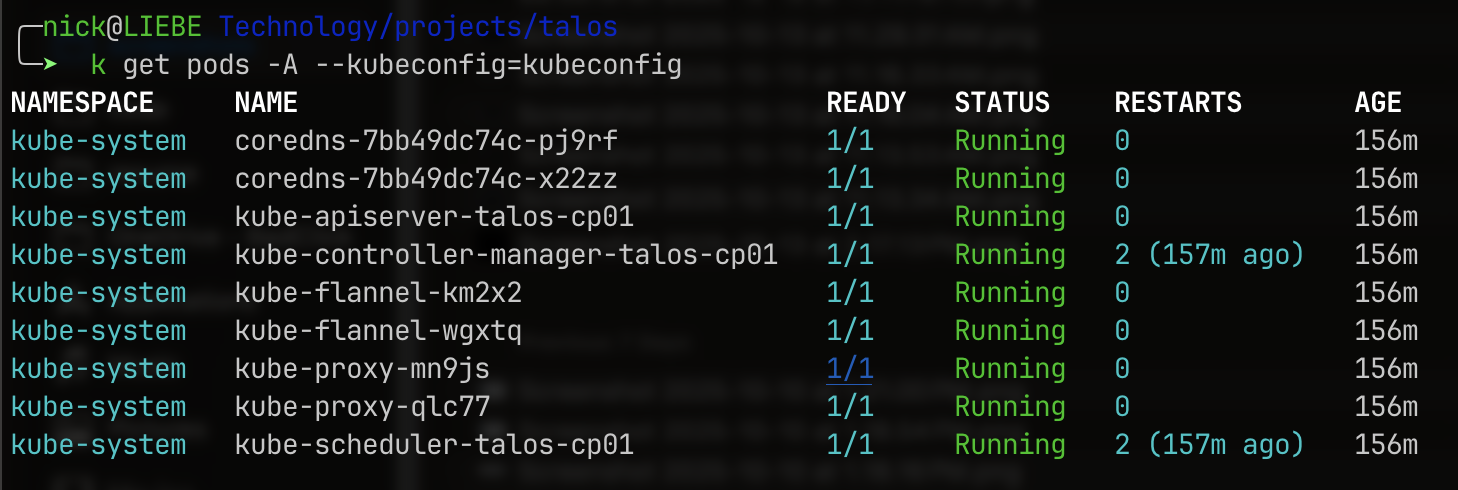
Then grab your kubeconfig:
1
2
talosctl kubeconfig .
kubectl get nodes --kubeconfig=kubeconfig
🛡️ Visibility from RunZero
It was interesting to see what RunZero was able to find on both talos VMs. Some obvious services enabled and some soon to be expired certificates.

🏁 Wrap-up
I will have to do some more testing with the talosctl to see what it offers for managing the cluster. However, as for a minimal, secure option to use on top of a secure container image, it looks extremely promising.